With growing environmental awareness and rapid advancements in new energy technologies, retrofitting traditional fuel-powered boats into electric vessels has become an industry trend. As a leading provider of marine electrification solutions, ExploMar offers modular, high-performance electric outboard systems—delivering efficient and convenient retrofit solutions. This guide details the process to help users complete upgrades smoothly.
Before retrofitting, calculate your power needs based on actual use cases to ensure battery capacity matches requirements:
Battery consumption reference:
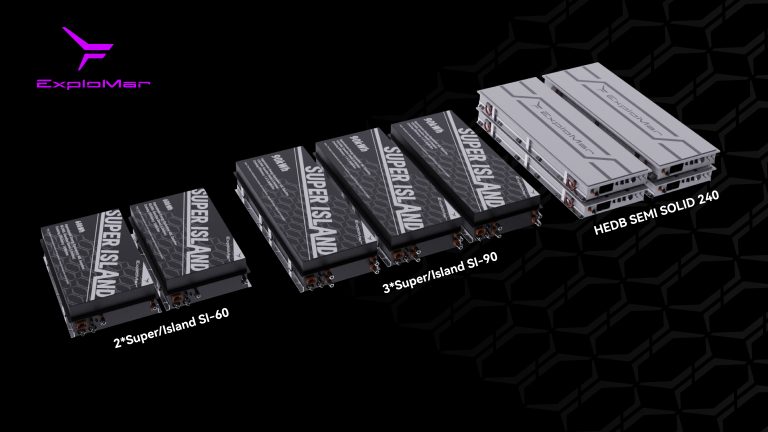
60 kWh ≈ 40 L gasoline; 90 kWh ≈ 60 L gasoline
Each outboard supports up to 2 or 3 battery packs in parallel.

Three key assessments are required before retrofitting:
Note: Boats originally equipped with outboards mainly require battery compartment evaluation.
Step 3: System Installation
1. Tools & Materials
Lifting equipment (≥500 kg load rating)
Ø20 mm rubber cooling hoses
Special lubricants and coolant
Waterproof sealant and accessories
2. Outboard Installation Shaft length selection (transom–waterline distance):
<50 cm → S Series (20″)
50–70 cm → M Series (25″)
70 cm → L Series (30″)
Install it with supplied waterproof fasteners. Reinforcement plates are recommended for stress distribution. ExploMar systems are simpler to be installed than traditional ICE outboards.
3. Battery System Integration
Install packs in the fuel tank compartment, ensuring:
Balanced weight distribution
IP67 protection for the battery chamber
Proper center of gravity alignment
≥20 cm clearance for wiring channels
Secure with anti-loosening bolts
Cooling options:
Plate heat exchanger (optional)
Dual seawater circulation system (high-spec, optional)
4. Electrical System Connection
(1)HMI installation:
(2)Wiring:
(3)Cooling System Connection
Note: After filling the system with coolant, use the display to manually start the pump’s air-purge operation until the coolant level stabilizes and the pump runs smoothly.
QC checks:
Allow cable slack to absorb vibration
HV cable bend radius ≥ 5× cable diameter
Verify coolant flow sensor ≥5 L/min before first start
Safety warnings:
Disconnect MSD main switch & wear insulated gloves before HV work
Cooling system pressure ≤0.5 MPa; never disconnect hoses under load
All electrical connections must be double-checked before powering on
Pre-checks:
Verify HV/LV wiring integrity
Coolant level
Reducer lubrication
Functional tests:
LV power-on self-check (no error codes)
HV trial run
Low-speed sea trial
Steering/trim/tiltcheck
Charging system verification
Benefits after retrofit:
Noise reduced by 90% (≤55 dB)
Zero fuel consumption & emissions
Energy cost savings of 60–70%
Simplified maintenance (no fuel system servicing)
Safety measures:
High-speed operation locked out when the propeller is dry
Fast-charging requires to active cooling system
Steering auto-centers when outboard is tilted
Users can access support via:
ExploMar official website
Authorized service network (on-site retrofitting available)
Standard retrofits can be usually completed within 24 hours. For complex projects, ExploMar certified service providers are recommended.